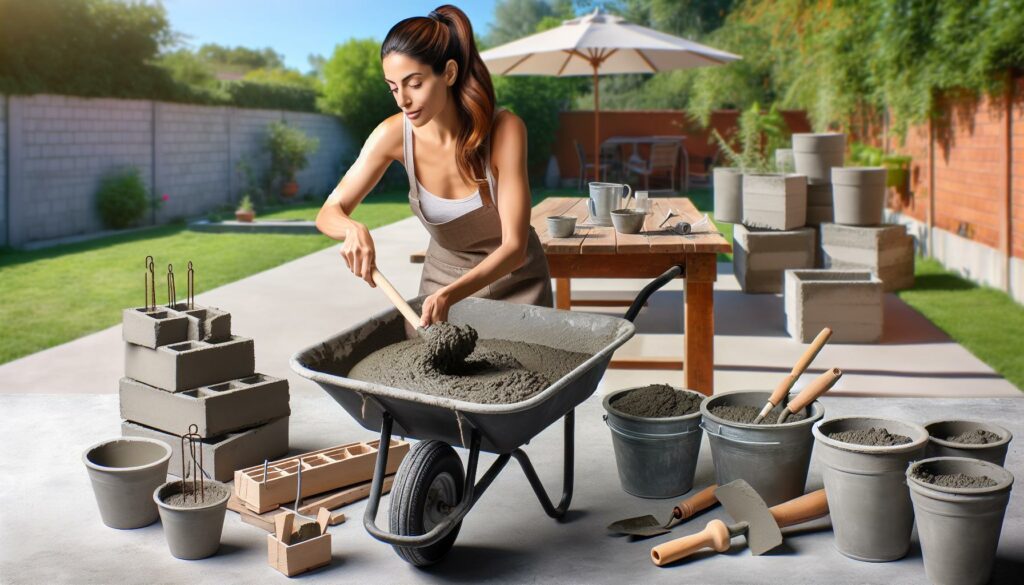
Concrete isn’t just for driveways and sidewalks; it’s a versatile material that opens up a world of DIY possibilities. I’ve discovered that with a little creativity and some basic tools, I can transform ordinary spaces into stunning features. From planters to outdoor furniture, concrete projects can elevate your home’s aesthetic while being surprisingly easy to tackle.
In this article, I’ll explore some of my favorite concrete DIY projects that anyone can try. Whether you’re a seasoned DIY enthusiast or just starting out, these projects will inspire you to get your hands dirty and create something unique. Let’s dive into the exciting world of concrete and see how it can enhance our living spaces.
Key Takeaways
- Versatile Material: Concrete serves multiple purposes in DIY projects, offering creative opportunities for indoor and outdoor enhancements.
- Durability and Longevity: Unlike other materials, concrete withstands harsh weather and requires minimal maintenance, making it ideal for long-lasting constructions.
- Essential Tools: The right tools—like trowels, molds, and mixers—are crucial for successful concrete projects and achieving desired finishes.
- Project Variety: From planters to furniture and decorative items, there are various concrete projects anyone can tackle, suitable for all skill levels.
- Cost-Effective Solution: Using concrete can save money on DIY projects, providing a robust and attractive alternative to traditional materials.
- Proper Techniques: Mastering mixing, curing, and finishing techniques is essential for enhancing the quality and durability of concrete DIY endeavors.
Concrete DIY Projects
Concrete offers a unique combination of durability and adaptability, making it an ideal choice for a variety of DIY projects. I find it exciting to discover how this versatile material can transform spaces and create functional art.
Benefits of Concrete in DIY
- Durability: Concrete withstands harsh weather conditions, ensuring longevity for outdoor projects.
- Versatility: Concrete molds easily into various shapes and designs, accommodating diverse project needs.
- Low Maintenance: Once properly set, concrete requires minimal upkeep compared to wood or other materials.
- Cost-Effective: Using concrete can save money on materials for larger projects, with readily available supplies.
- Aesthetics: Concrete can be finished to achieve various textures and colors, enhancing visual appeal.
- Planters: Creating concrete planters allows for customization in size and design, ideal for personal or garden aesthetics.
- Furniture: Concrete tables and benches offer sturdy, stylish solutions for outdoor spaces.
- Decorative Items: Sculptures and garden ornaments made from concrete can serve as unique focal points in landscapes.
- Pathways: Concrete pavers add functionality while enhancing curb appeal through creative layouts.
- Fire Pits: Constructing a concrete fire pit creates a cozy gathering space that withstands the elements.
Essential Tools and Materials
Equipping yourself with the right tools and materials ensures success in concrete DIY projects. Below, I list essential tools and recommend concrete types and mixes tailored for various projects.
Tools Needed for Concrete Projects
- Mixing Tools
A concrete mixer or a sturdy wheelbarrow helps combine materials effectively. - Shovels
A round-nose shovel assists in transferring and spreading wet concrete. - Trowels
A margin trowel smooths edges, while a finishing trowel gives surfaces a polished finish. - Buckets
Measuring buckets provide accurate ratios for mixing water and concrete. - Level
A bubble level ensures flatness and correct alignment for surfaces. - Vibrating Screed
A vibrating screed minimizes air bubbles, ensuring a smooth surface. - Molds
Silicone or plastic molds shape and define concrete into desired forms. - Safety Gear
Gloves, goggles, and masks protect against dust and debris while working.
- Ready-Mix Concrete
This pre-mixed option simplifies projects, offering consistent strength and workability. - Self-Leveling Concrete
Ideal for flooring, this type easily flows and levels without extensive manipulation. - High-Strength Concrete
Suitable for heavy-duty projects, it provides increased durability and load-bearing capacity. - Lightweight Concrete
This mix reduces weight, perfect for projects where minimizing load is crucial. - Fast-Setting Concrete
Useful for quick repairs, this type sets rapidly, allowing for prompt finishing work. - Decorative Concrete Mixes
Options like colored or stamped concrete create unique finishes and aesthetic appeal.
Choosing the right tools and materials can significantly enhance the quality of your concrete projects.
Step-by-Step Guide for Common Projects
Concrete offers endless possibilities for DIY projects. Below are detailed guides for creating concrete planters and furniture that can enhance any space.
DIY Concrete Planters
- Gather Tools and Materials: Collect mixing tools, a trowel, a bucket, a mold (like a plastic container), and concrete mix. Choose a suitable concrete type such as fast-setting concrete for quicker projects.
- Prepare the Mold: Choose the mold size according to your planter’s desired dimensions. Apply a release agent, such as cooking spray, to the inside of the mold to help with easy removal.
- Mix Concrete: Follow the manufacturer’s instructions for your concrete mix. Mix in a bucket until it reaches a thick, workable consistency.
- Fill the Mold: Pour the mixed concrete into the mold, tapping it lightly to remove air bubbles. Leave some space at the top for soil or plants.
- Cure the Planter: Allow the concrete to cure for at least 24 hours. Cover it with plastic to keep moisture in, promoting even curing.
- Demold and Finish: Carefully remove the planter from the mold. Sand down rough edges and apply a sealant if desired for added weather resistance.
- Select Your Design: Decide on the type of furniture, such as a bench or a table. Sketch the design and draft measurements to guide your project.
- Gather Tools and Materials: Obtain concrete mix, molds (for the tabletop or seat), a trowel, a level, and vibrating screeds. Use reinforcing materials, like rebar or wire mesh, for added strength.
- Make the Molds: Construct or purchase molds that fit your design. Ensure they are sturdy enough to hold the concrete and won’t leak.
- Mix and Pour Concrete: Prepare the concrete mix according to package instructions. Pour the concrete into the mold and level it using a screed for an even surface.
- Add Reinforcements: For larger pieces, insert rebar or wire mesh into the wet concrete to enhance stability.
- Cure the Furniture: Allow it to cure for at least 48 hours. Cover with plastic or damp cloths to maintain moisture.
- Remove from Mold and Finish: Once cured, carefully demold your furniture. Sand rough edges and consider sealing for a polished look.
Tips for Successful Concrete Work
Successfully executing concrete DIY projects requires attention to detail. Implementing the right techniques can significantly enhance your project’s outcome.
Proper Mixing Techniques
Mixing concrete properly is crucial for strength and workability. I combine dry concrete mix and water in a clean container. I follow the manufacturer’s instructions for the correct water-to-mix ratio, ensuring an even consistency. After adding water, I mix thoroughly with a shovel or paddle mixer until achieving a smooth, lump-free texture. For larger projects, I consider using a concrete mixer to ensure uniformity. When pouring, I work quickly to prevent the mix from setting in the container.
Curing and Finishing Tips
Curing concrete correctly influences its strength and durability. After pouring, I cover the surface with wet burlap, plastic sheeting, or a curing compound to retain moisture. I ensure that the concrete remains moist for at least seven days, as this enhances hydration and prevents cracking. For finishing touches, I smooth the surface with a trowel or float while the concrete is still wet. I also explore various finishing methods, such as stamping or coloring, to achieve desired aesthetics once the surface has cured.


